Transform Your Wardrobe: Top 6 Expert Tips for Dyeing Plain Fabrics
Dyeing plain fabrics can be a cost-effective and creative way to transform your wardrobe. However, dyeing fabrics can be tricky, especially if you’re new to the process.
In this post, we’ll cover the top 6 expert tips for dyeing plain fabrics, so you can achieve beautiful and long-lasting results.
Also read: Top 8 Types of Cotton Fabrics Every A Fashion Designer Should Know About
How to style a dye fabric
Pair it with neutral colors
When styling a bold or bright dyed fabric, it’s a good idea to balance it out with neutral colors. For example, if you have a bright pink dyed top, pair it with white or beige pants or a skirt.
This will make the dyed fabric the focal point of the outfit without overwhelming the look.
Layer it with other fabrics
Another way to style a dyed fabric is to layer it with other fabrics. For example, if you have a dyed denim jacket, wear it over a simple t-shirt or dress. The combination of fabrics will add depth and texture to your outfit.
Accessorize with complementary colors
If you want to make your dyed fabric pop, accessorize with complementary colors.
For example, if you have a green dyed dress, accessorize with gold or brown jewelry. This will create a cohesive look and make the dyed fabric stand out.
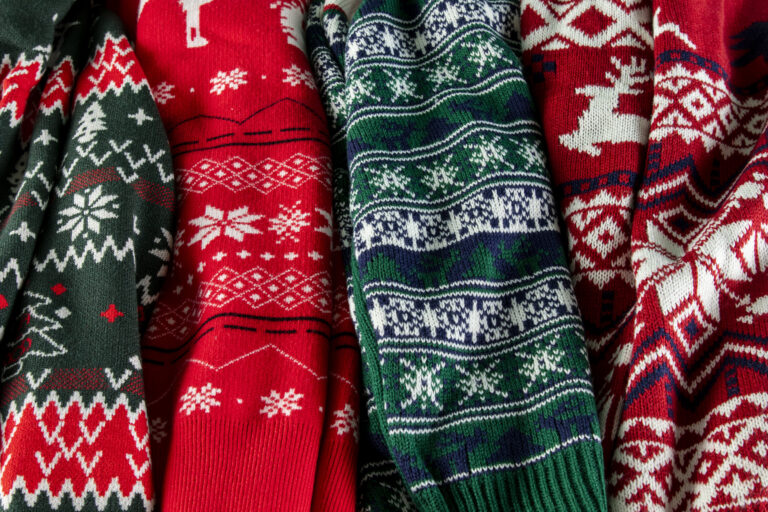
Mix and match with different patterns
Don’t be afraid to mix and match different patterns with your dyed fabric. For example, if you have a tie-dyed shirt, pair it with a striped skirt or polka dot pants.
Mixing and matching patterns can add interest and personality to your outfit. Just be sure to balance out the colors and patterns so the look isn’t too busy.
Top 6 Expert Tips for Dyeing Plain Fabrics
Are you tired of the same old wardrobe, but don’t want to break the bank buying new clothes? Here are top 6 expert tips foe dyeing plain fabrics.
Choosing the right fabric and dye is the first step in achieving the perfect dye job. Different fabrics absorb dye differently, which can affect the final result.
For example, natural fibers like cotton, linen, and wool absorb dye better than synthetic fibers like polyester and nylon. Therefore, natural fibers are the best choice for dyeing.
When it comes to choosing the dye, there are two main types: fiber reactive and all-purpose.
Fiber reactive dye is designed specifically for natural fibers and reacts chemically with the fabric to create a strong and permanent bond.
All-purpose dye, on the other hand, is designed to work on both natural and synthetic fibers, but the results may not be as vibrant or long-lasting as with fiber reactive dye.
Once you’ve chosen the fabric and dye type, it’s important to read the manufacturer’s instructions carefully to ensure you have all the necessary materials and to follow the correct dyeing process.
Tip #2: Prepare the Fabric
Preparing the fabric is a crucial step in achieving a successful dye job. If the fabric is not pre-washed or prepped properly, the dye may not be absorbed evenly, resulting in uneven coloring.
To prepare the fabric, start by washing it in warm water with mild detergent to remove any dirt, oil, or sizing.
Do not use fabric softener, as it can interfere with the dye absorption. Rinse the fabric thoroughly and dry it completely.
If the fabric is new and has never been washed, it’s important to wash it at least once before dyeing.
Next, remove any labels, tags, or stitching that may interfere with the dyeing process. You can use scissors, a seam ripper, or a razor blade to remove these items. Finally, dampen the fabric with water to prepare it for dyeing.
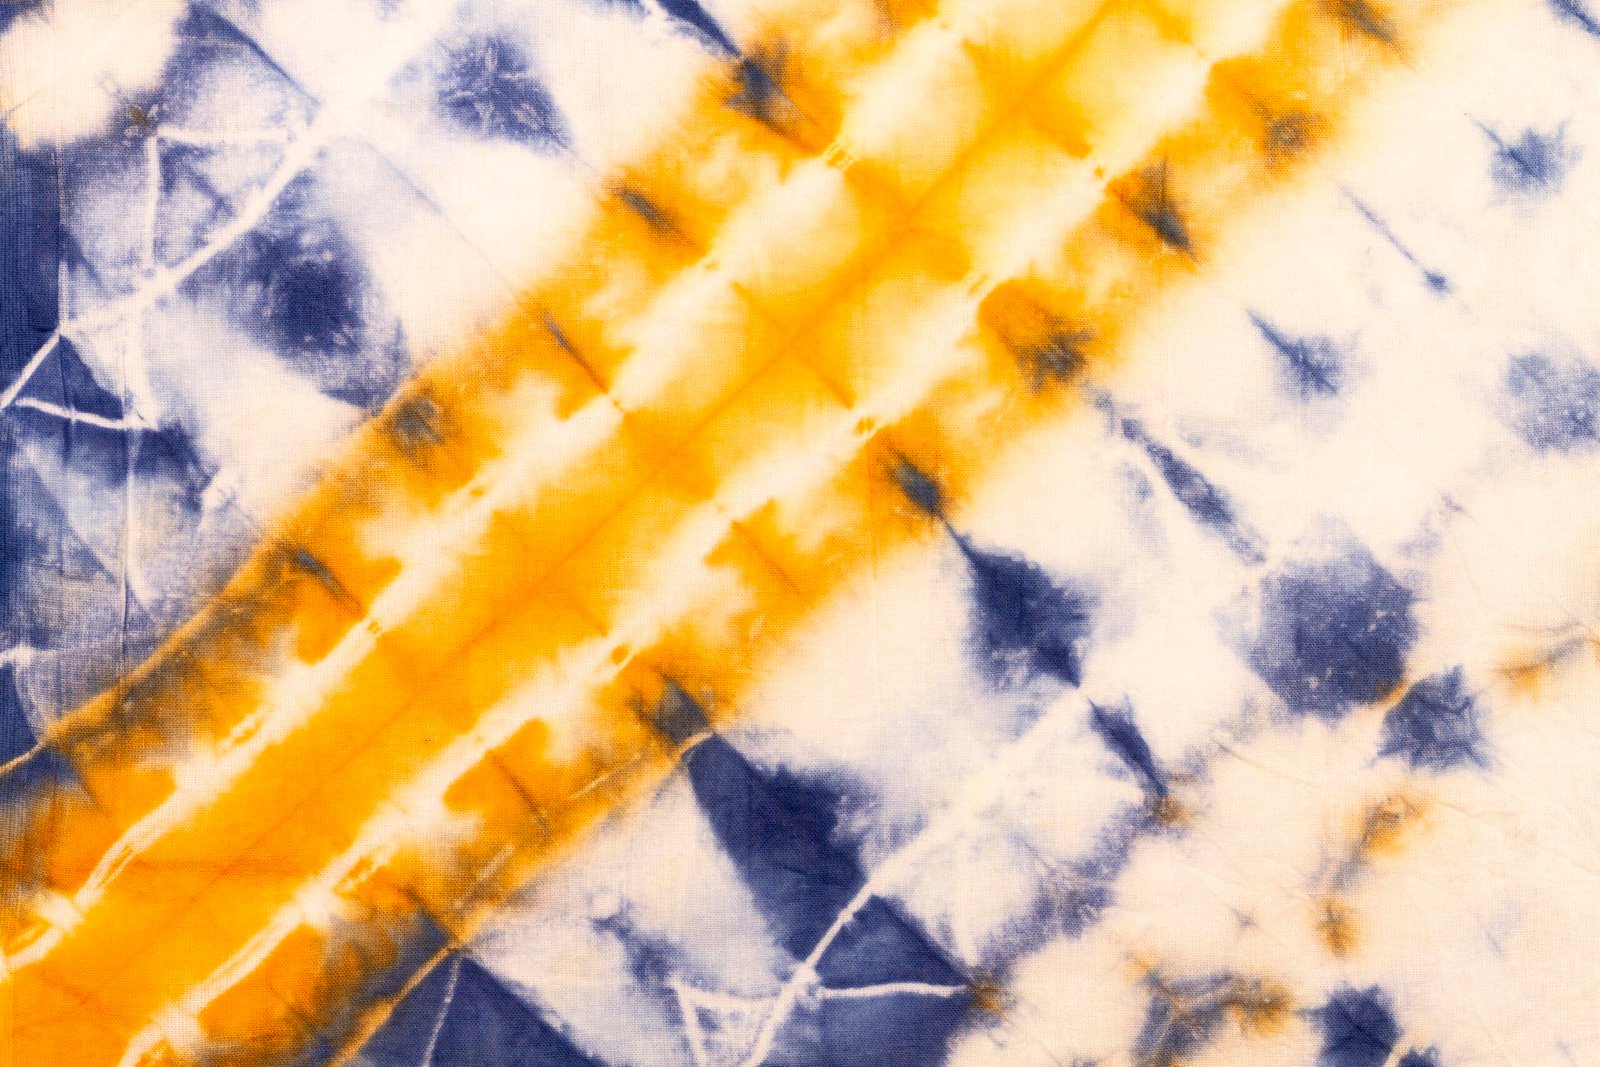
Tip #3: Mix and Test the Dye
Mixing and testing the dye is an important step in achieving the desired color and shade.
Dye colors can vary depending on the dye type, fabric type, and dye concentration, so it’s important to mix and test the dye before applying it to the fabric.
To mix the dye, follow the manufacturer’s instructions carefully. Measure the dye powder or liquid according to the recommended amount for the fabric weight, and mix it with warm water in a non-reactive container.
Use a spoon or stirrer to mix the dye thoroughly and dissolve any lumps.
To test the dye, cut a small piece of fabric from an inconspicuous area, such as a hem or seam allowance. Dip the fabric into the dye mixture and let it soak for a few minutes, stirring occasionally.
Remove the fabric and rinse it under cold water until the water runs clear. Let the fabric dry completely and compare the color to the desired result.
If the color is too light, add more dye to the mixture. If the color is too dark, dilute the mixture with more water.
Tip #4: Follow Dyeing Instructions Carefully
Following the dyeing instructions carefully is crucial for achieving a successful dye job.
Each dye type and brand may have different instructions and it’s important to follow them accurately to achieve the desired result.
Before dyeing, make sure you have all the necessary materials, including gloves, a non-reactive container, and a stirrer. Also, wear old clothes or an apron to protect your clothes from dye stains.
To begin dyeing, fill a large pot or container with enough hot water to cover the fabric. Add the dye mixture to the water and stir it well.
If using fiber reactive dye, you may also need to add salt or soda ash to the water to activate the dye.
Next, add the dampened fabric to the dye bath and stir it continuously for the first 10-15 minutes to ensure even coloring.
If dyeing a large piece of fabric, you may need to stir it in sections to ensure all areas are evenly covered.
After the initial stirring period, let the fabric soak in the dye bath for the recommended amount of time, usually 30-60 minutes.
Check the fabric regularly to make sure it’s absorbing the dye evenly. If you notice any areas that are lighter than others, stir the fabric to redistribute the dye.
Once the fabric has reached the desired color, remove it from the dye bath and rinse it thoroughly under cold water until the water runs clear.
Be careful not to wring or twist the fabric, as this can cause creases and uneven coloring. Instead, gently squeeze out excess water and hang the fabric to dry.
Tip #5: Control the Dyeing Process
Controlling the dyeing process is important for achieving the desired result. Here are some tips to help you control the dyeing process:
- Use a thermometer to monitor the water temperature. The water should be hot, but not boiling, to ensure proper dye absorption.
- Stir the fabric continuously during the first 10-15 minutes to ensure even coloring.
- Avoid overcrowding the dye bath, as this can cause uneven coloring.
- If dyeing a large piece of fabric, stir it in sections to ensure even coverage.
- Adjust the dye concentration if needed to achieve the desired color.
Tip #6: Post-Dyeing Care
Proper post-dyeing care is important for maintaining the color and longevity of the fabric. Here are some tips for post-dyeing care:
- Wash the fabric separately in cold water with mild detergent to remove any excess dye. Do not use fabric softener, as it can affect the color and texture of the fabric.
- Dry the fabric in the shade, away from direct sunlight, to prevent fading.
- Avoid using bleach or harsh chemicals on the fabric, as this can damage the dye and fabric fibers.
- Store the fabric in a cool, dry place to prevent moisture and mildew.
Conclusion
Dyeing plain fabrics can be a fun and cost-effective way to transform your wardrobe. By following these top 6 expert tips, you can achieve beautiful and long-lasting results.
Remember to choose the right fabric and dye, prepare the fabric properly, mix and test the dye, follow dyeing instructions carefully, control the dyeing process, and take proper post-dyeing care.
With a little patience and practice, you can become a dyeing expert and create a unique and personalized wardrobe.