Sewing for Your Little One: How to Create the Perfect Baby Dress in 8 Simple Steps
Sewing baby clothes is a joy that many parents, grandparents, and crafters enjoy. Creating a baby dress is a special project that can be both practical and sentimental.
Whether you want to make a dress for a special occasion, a family tradition, or just to spoil your little one, sewing a baby dress can be a rewarding and satisfying experience.
A perfect baby dress should not only look cute and stylish but also fit well, feel comfortable, and withstand washing, stretching, crawling, and playing.
In this article, we will guide you through how to create the perfect baby dress in 8 simple steps.
We will cover the basics of choosing the right pattern and fabric, cutting and preparing the pieces, sewing the bodice, adding the skirt and sleeves, hemming the dress, adding the closure, and finishing touches.
We will provide tips, tricks, and examples to help you sew a beautiful and functional baby dress that your little one will love to wear.
Also read: Sewing Mastery: How to Make a Perfect Buttonhole in 10 Steps
How to Create the Perfect Baby Dress in 8 Simple Steps
Sewing for babies also requires attention to safety, comfort, and durability. Babies have sensitive skin, delicate bodies, and messy habits, so the clothes they wear should be made with care and consideration.
Step 1: Choosing the Pattern and Fabric
A pattern is a template or guide that shows you how to cut and sew the pieces of the dress, including the bodice, skirt, sleeves, and any other details such as pockets, collars, or bows.
It can be purchased from a sewing store, downloaded online, or created from scratch using your own measurements and designs.
When choosing a pattern for a baby dress, consider the style, size, and difficulty level. A baby dress can come in many styles, from classic to modern, from casual to formal, from simple to complex.
A baby dress can also come in different sizes, ranging from newborn to toddler, with different measurements and proportions.
It can also come in different difficulty levels, depending on your sewing skills, tools, and time.
A simple baby dress pattern may only require basic sewing techniques and minimal equipment, while a more elaborate baby dress pattern may require advanced skills and specialized tools.
Once you have chosen a pattern, you need to select the right fabric for the dress. A fabric is the material that the dress will be made of, and it can affect the look, feel, and durability of the dress.
A fabric can be made of natural or synthetic fibers, with different textures, colors, patterns, and weights. A fabric can also have different properties, such as stretch, shrinkage, wrinkle resistance, or breathability.
When choosing a fabric for a baby dress, consider the comfort, safety, and practicality of the fabric.
A baby dress should be made of a soft, lightweight, and breathable fabric that feels gentle on the baby’s skin and allows for movement and airflow.
A baby dress should also be made of a durable and easy-to-clean fabric that can withstand washing, drying, ironing, and frequent use.
It should also be made of a fabric that is safe and non-toxic, free of harmful chemicals, and certified for baby products.
To prepare the fabric for cutting and sewing, you need to prewash, dry, and iron the fabric.
Prewashing removes any dirt, chemicals, or residues from the fabric, and prevents the fabric from shrinking or bleeding after the dress is made.
Drying and ironing smoothen out the fabric and make it easier to cut and sew.
Drying can be done in a dryer or by air-drying, using a low heat or no heat setting. Ironing can be done with a steam iron, on a low to medium heat setting, and with a pressing cloth to avoid damaging the fabric.
Step 2: Cutting and Preparing the Pieces
The second step in sewing a baby dress is cutting and preparing the pieces of the dress. This step involves following the pattern instructions, measuring and marking the fabric, and cutting the pieces accurately and neatly.
To cut the pieces, you will need a cutting mat, a rotary cutter, a ruler, and pins or clips. Place the fabric on the cutting mat, with the right side facing up, and smooth out any wrinkles or folds.
Place the pattern pieces on the fabric, aligning them with the grainline and the fabric edges, and pin or clip them in place.
Use the rotary cutter and ruler to cut the pieces, following the outlines of the pattern, and being careful not to cut through the pins or clips.
Once you have cut all the pieces, remove the pins or clips, and organize the pieces according to the pattern instructions.
This may involve labeling the pieces, trimming the seams, or preparing any interfacing or lining materials.
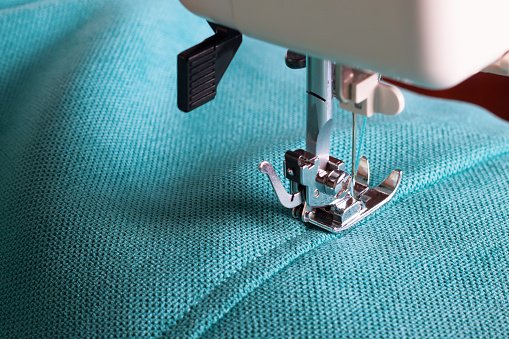
Step 3: Sewing the Bodice
The third step in sewing a baby dress is sewing the bodice of the dress. The bodice is the upper part of the dress, which covers the chest, shoulders, and back, and often includes details such as a collar, a yoke, or a zipper.
To sew the bodice, you will need a sewing machine or a needle and thread, and the bodice pieces prepared in the previous step.
Follow the pattern instructions to assemble the bodice pieces, including any darts, seams, or closures. Be sure to backstitch at the beginning and end of each seam, to secure the threads and prevent unraveling.
When sewing the bodice, pay attention to the fit, the finish, and the details. The bodice should fit snugly but comfortably, without being too tight or too loose.
The seams and edges should be finished neatly, with no loose threads or fraying. The details should be aligned and centered, with no puckering or distortion.
Step 4: Adding the Skirt and Sleeves
The fourth step in sewing a baby dress is adding the skirt and sleeves to the bodice. The skirt is the lower part of the dress, which flares out from the waist or the hips, and can be gathered, pleated, or layered.
The sleeves are the parts of the dress that cover the arms, and can be short, long, or sleeveless.
To add the skirt and sleeves, you will need to follow the pattern instructions, and attach the skirt and sleeves to the bodice, using either a sewing machine or a needle and thread.
Depending on the design and the pattern, this may involve gathering the skirt, attaching the sleeves to the armholes, and finishing the seams.
When adding the skirt and sleeves, pay attention to the balance, the length, and the movement. The skirt should be balanced and symmetrical, with no drooping or pulling.
The length of the dress should be appropriate for the baby’s size and age, and should not be too long or too short.
The movement of the dress should allow for easy crawling, sitting, and standing, without restricting the baby’s mobility or comfort.
Step 5: Hemming the Dress
Hemming is the process of folding and sewing the bottom edge of the dress, to prevent fraying and give a finished look.
To hem the dress, you will need a sewing machine or a needle and thread, and the dress prepared in the previous step.
Follow the pattern instructions to fold and sew the hem, either by hand or with a machine.
Be sure to measure and mark the hem accurately, and to use a straight stitch or a zigzag stitch, depending on the fabric and the design.
When hemming the dress, pay attention to the length, the finish, and the durability. The length of the hem should be consistent and even, with no bumps or waves.
The finish of the hem should be neat and clean, with no loose threads or fraying. The durability of the hem should be strong and secure, with no gaps or holes.
Step 6: Adding Embellishments and Trims
The sixth step in sewing a baby dress is adding embellishments and trims to the dress. Embellishments are decorative elements that can be added to the dress, such as buttons, bows, appliques, or embroidery.
Trims are decorative edges that can be added to the dress, such as lace, piping, or bias tape.
To add embellishments and trims, you will need to follow the pattern instructions, and choose the appropriate materials and techniques.
Depending on the design and the pattern, this may involve sewing on buttons, attaching bows or appliques, or stitching on embroidery.
It may also involve adding lace to the hem, piping to the seams, or bias tape to the edges.
When adding embellishments and trims, pay attention to the style, the placement, and the safety.
The style of the embellishments and trims should match the design and the fabric of the dress, and should not be too heavy or too bulky.
The placement of the embellishments and trims should be balanced and centered, with no skewing or tilting.
The safety of the embellishments and trims should be ensured, with no loose or sharp edges that could harm the baby.
Step 7: Pressing and Finishing the Dress
The seventh step in sewing a baby dress is pressing and finishing the dress. Pressing is the process of using an iron and a pressing cloth to flatten and smooth the seams, edges, and details of the dress.
Finishing is the process of trimming, clipping, and securing any loose threads or fraying edges.
To press and finish the dress, you will need an iron, a pressing cloth, and a pair of scissors or a seam ripper.
Follow the pattern instructions to press the dress, either by hand or with a machine, using a low to medium heat setting and a pressing cloth to avoid damaging the fabric.
Then, trim any loose threads or fraying edges, using the scissors or the seam ripper, and secure any remaining threads or edges with a knot or a fray check.
When pressing and finishing the dress, pay attention to the heat, the timing, and the details. The heat of the iron should be appropriate for the fabric and the design of the dress, and should not scorch or melt the fabric.
The timing of the pressing should be consistent and brief, to avoid flattening or distorting the details of the dress.
The details of the dress should be inspected and corrected, to ensure that they are aligned, centered, and smooth.
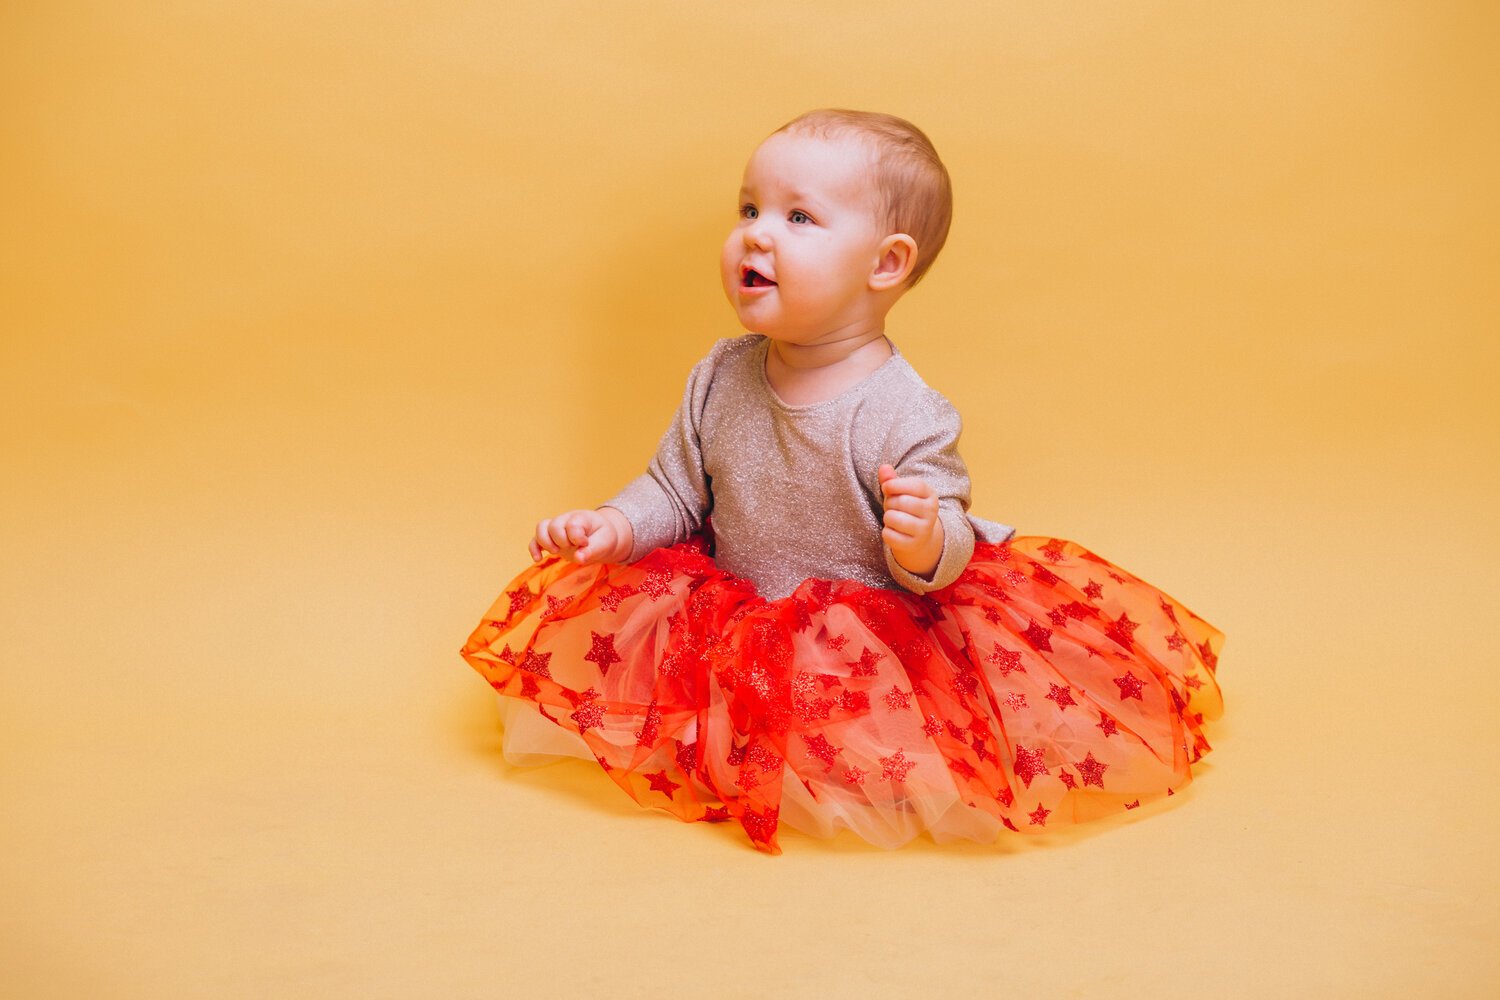
Step 8: Trying On and Admiring the Dress
This step involves putting the dress on the baby, checking the fit, the comfort, and the style, and taking pictures or showing off the dress to family and friends.
To try on and admire the dress, you will need the baby, a mirror, and a camera or a phone. Put the dress on the baby, adjusting the fit and the length as needed, and check the comfort and the range of motion of the baby.
Make sure that the dress is not too tight, too loose, or too restrictive, and that the baby can move freely and comfortably.
Check the style and the overall appearance of the dress, and see if it matches the expectations and the preferences of the parents and the baby.
If the dress fits well and looks great, take pictures of the baby in the dress, or show off the dress to family and friends.
Celebrate the accomplishment of creating a handmade garment for the little one, and enjoy the satisfaction of seeing the baby wearing it with joy and pride.
Conclusion
Sewing a baby dress may seem like a daunting task, but with the right materials, tools, and techniques, it can be a rewarding and enjoyable experience.
By following the eight simple steps outlined in this guide, you can create a perfect and personalized dress for your little one, and showcase your creativity and skills as a seamstress.
Whether you are a seasoned seamstress or a beginner, sewing for your little one can be a meaningful and memorable way to express your love and care for them.
With practice and patience, you can create a wardrobe full of beautiful and unique garments that will make your baby look and feel their best.
So go ahead, grab your sewing machine or your needle and thread, and start sewing for your little one today!